If you’re facing problems with your Roku remote not working as it should, don’t worry. As someone who has been using Roku for a long time, I’ve found some ways to fix this issue. In this article, I’ll share my top five tips to fix any problems you have, whether pairing, connecting, or not working. So, let’s get started and enjoy your favorite shows without interruptions!
Contents
Way To Solve Roku Remote Not Working
Here are five tips to help you solve the issue and get your remote working again:
1. Hard Reset the Roku Device
Resetting your devices can be an effective way to resolve common issues. If you’re experiencing problems pairing your Roku device, performing a hard reset might help.
To do this, start by unplugging the device from the power source and leaving it unplugged for at least 30 seconds.
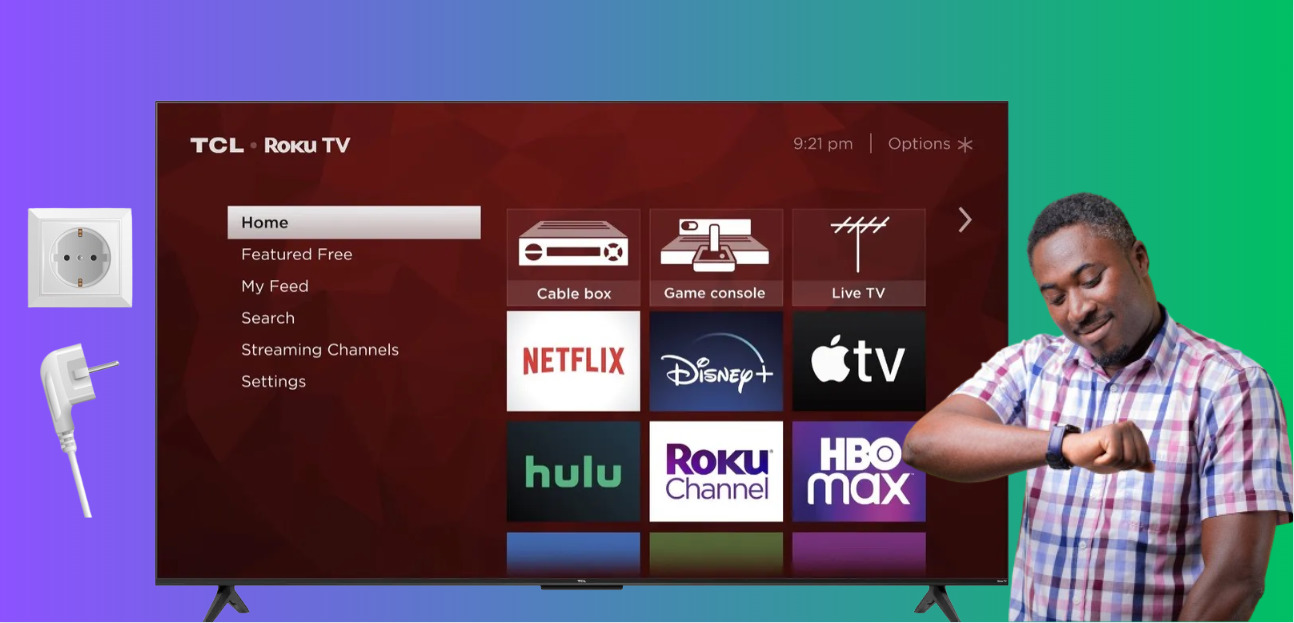
This will ensure that the device is completely powered down. After the time has passed, plug the device back into the power source and wait for it to restart fully.
This reset will refresh the device’s connectivity and can often resolve pairing issues.
2. Remove and Reinsert Batteries
The next method is to remove the batteries from the remote control.
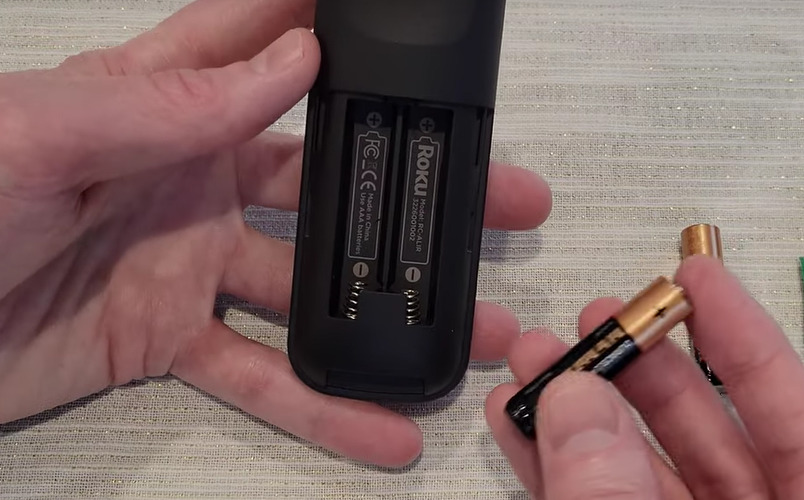
After removing the batteries, please wait a few seconds before reinserting them into the remote. This brief pause allows the remote to reset and clear any temporary glitches causing the issue.
Once you’ve reinserted the batteries, the remote may automatically prompt to pair with the Roku device, re-establishing the connection between the two devices.
This method is a quick and easy way to troubleshoot any connectivity problems you may be experiencing with your Roku remote.
3. Utilize Remote Pairing Button (If Available)
If the above method fails, you can use an alternative method to pair your remote.
First, locate the pairing button, typically near the battery compartment.
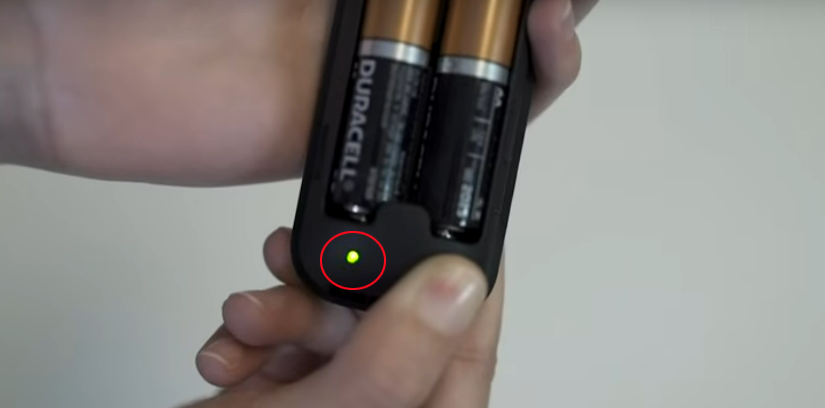
Press and hold the button for approximately 5 seconds. As you do so, observe the LED flashes on the remote, which will confirm that it has entered pairing mode.
This method should help you to pair your remote successfully.
4. Pair a New Remote via Settings
Access the Roku device’s settings menu.
Go to “Settings” > “Remote and Devices” > “Pair New Device.“
Follow the instructions to pair a new remote with your Roku device.
5. Use Roku App on Android and iPhone
You can try an alternative method if the above methods do not resolve your issue. Here’s what to do:
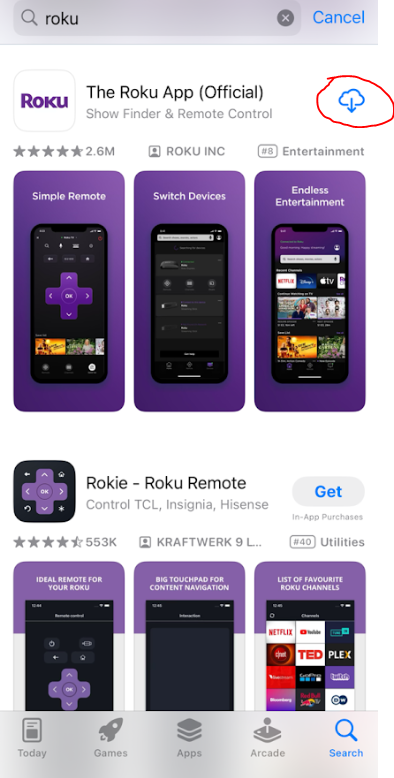
1. Open the Google Play Store on your Android phone and Apple App Store if you are an Apple user, and then search for the Roku app.
2. To start with the app, you need to download it on your phone and then install it.
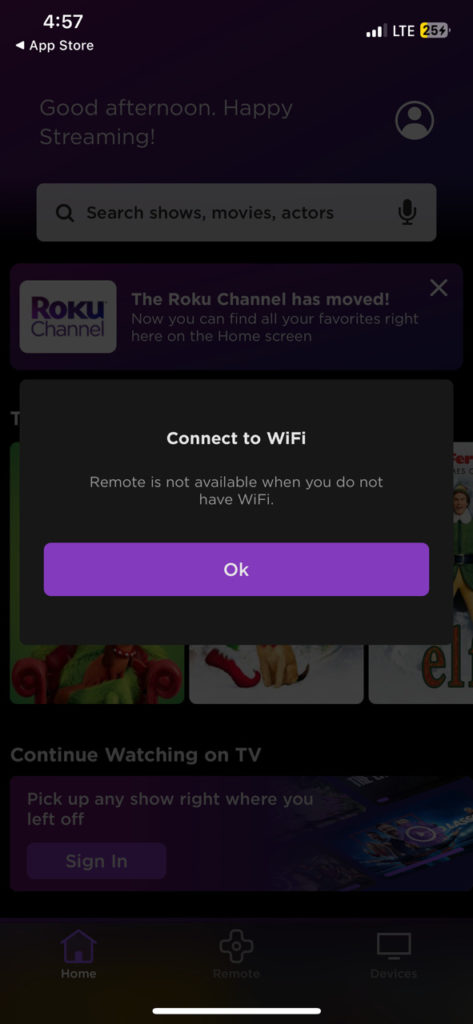
3. Ensure that your phone’s Wi-Fi is enabled and connected to the same network as your Roku device.
4. Launch the Roku app on your device to begin connecting to your Roku device.
Once the app is open, a user-friendly interface will guide you through connecting your device to your account.
You will be presented with on-screen instructions that clearly outline each step you need to take to connect your Roku device successfully. These instructions will take you through setting up your device and establishing a secure connection.
Reading and carefully following each step is important to avoid errors and ensure a seamless connection experience.
5. The app can access various advanced remote control functions once connected. For instance, you can use voice commands to search for content, enter text using your phone’s keyboard, and even route audio to headphones connected to your phone.
6. Additionally, the app provides a touchpad interface that lets you easily navigate your Roku device.
These detailed steps aim to systematically address Roku remote pairing issues, from resetting the device to utilizing different methods for initiating or re-establishing the connection between the remote and the Roku device.