If you want to connect Roku device to Wi-Fi but don’t know how to do it, don’t worry! You have come to the right place. Follow the steps in this article, and you can connect your Roku device to Wi-Fi quickly and easily.
Step-by-Step Guide to Connect Roku to Wi-Fi:
Step 1: Access Your Roku Home Screen
To begin the process, navigate to your Roku home screen. This can be done using your Roku remote by pressing the Home button.
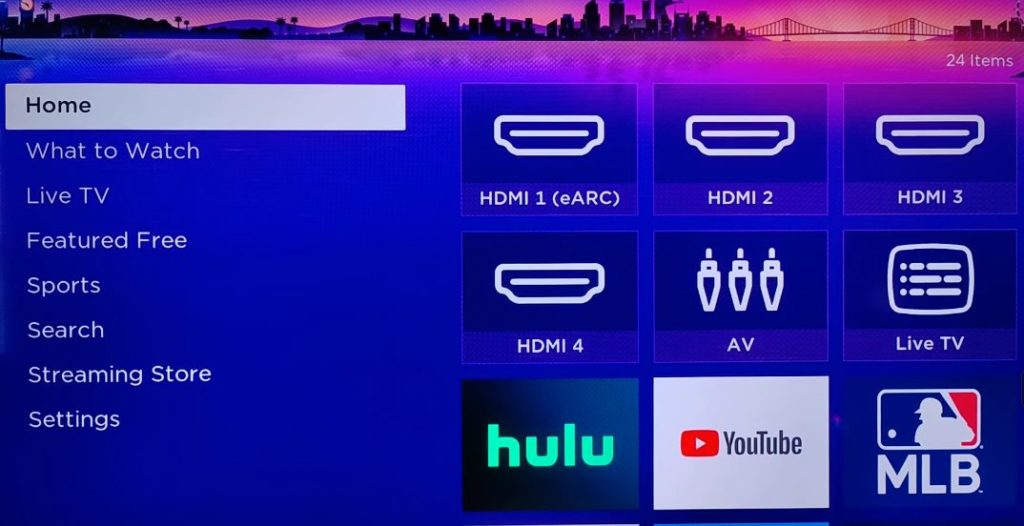
Step 2: Access Settings on Your Roku TV
To access the Settings menu on your screen, scroll down the left-side menu until you locate the “Settings” option. Once you have found it, click on it to access the settings menu promptly.
The Settings menu allows you to manage and customize various options and preferences for your device or application.
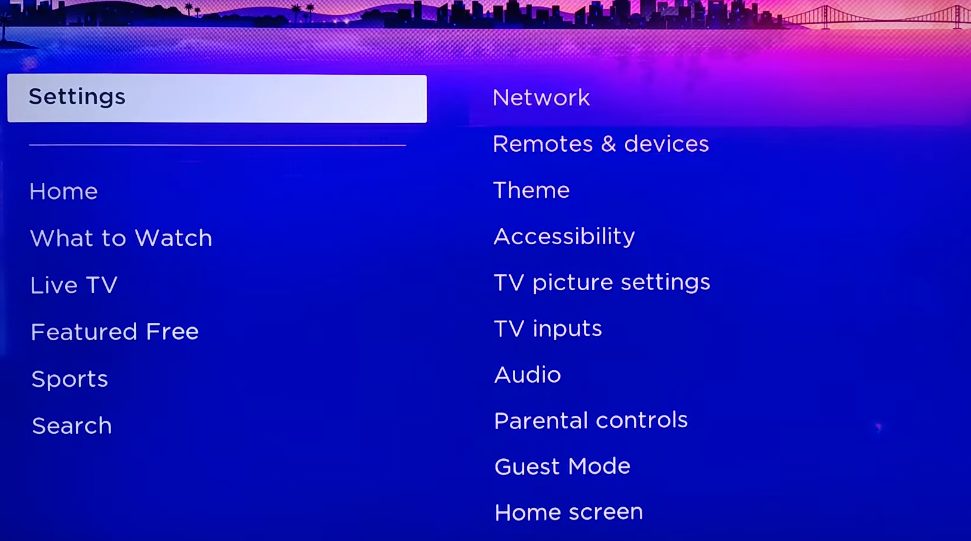
Step 3: Select Network
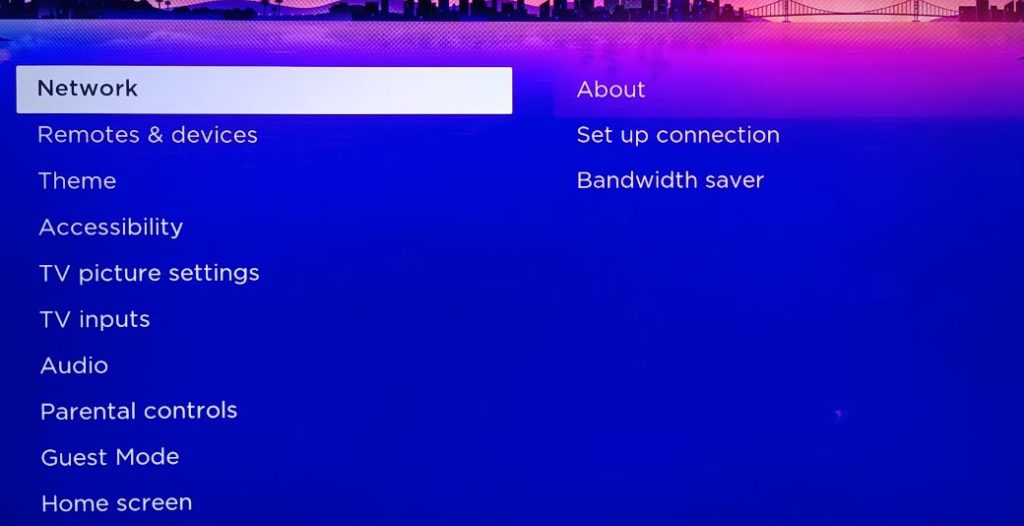
Within the Settings menu, find and click “Network” to access a list of available network options for your Roku device.
Step 4: Set Up Connection
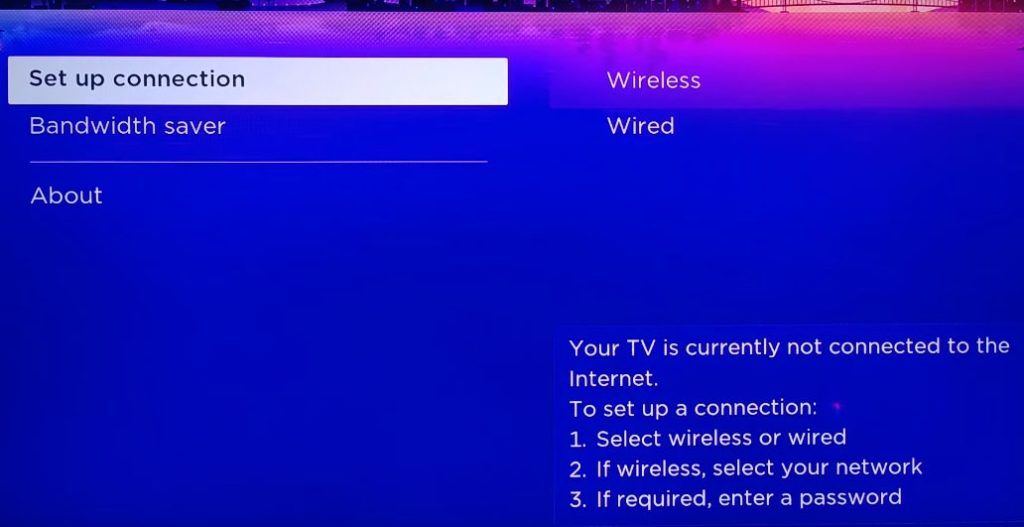
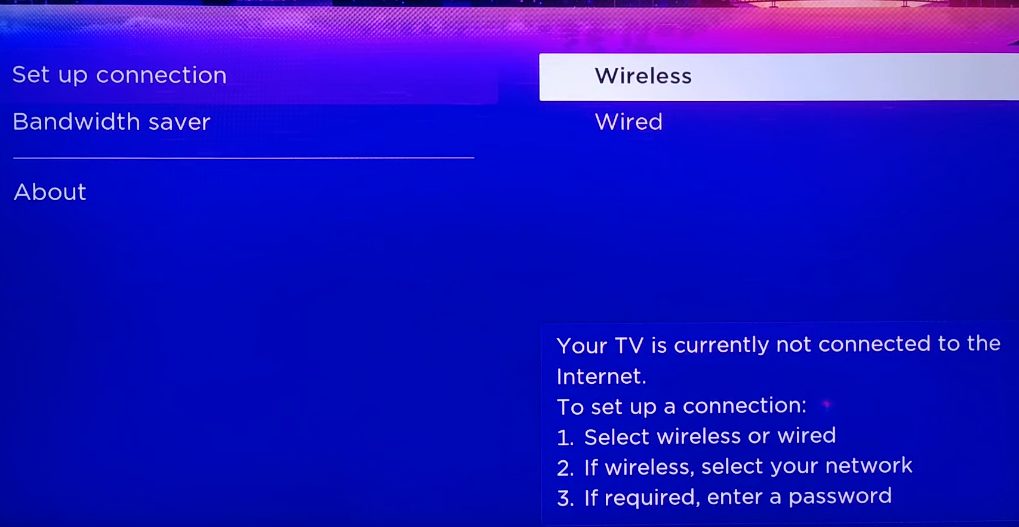
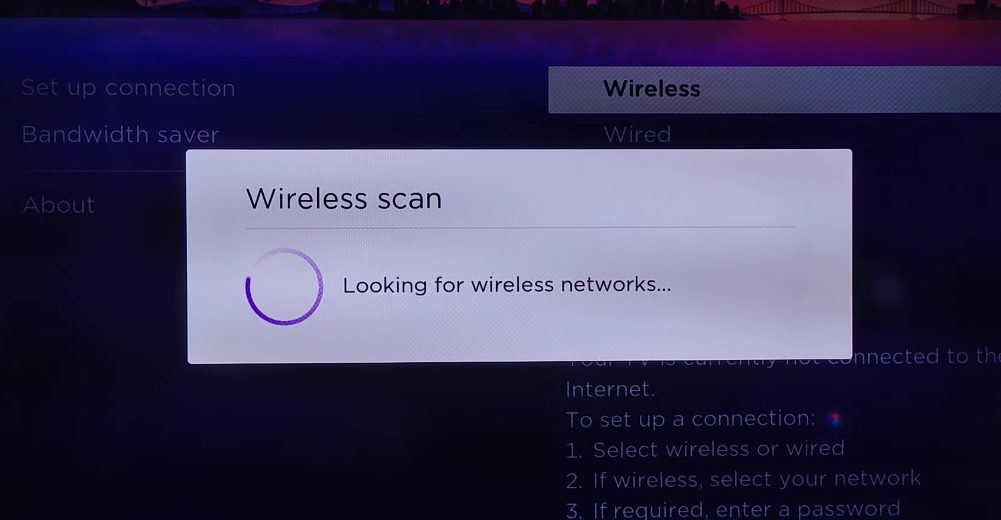
Click “Set Up Connection” and select “Wireless” from the subsequent options. This action will display a list of detected wireless networks.
Step 5: Choose Your Wi-Fi Network
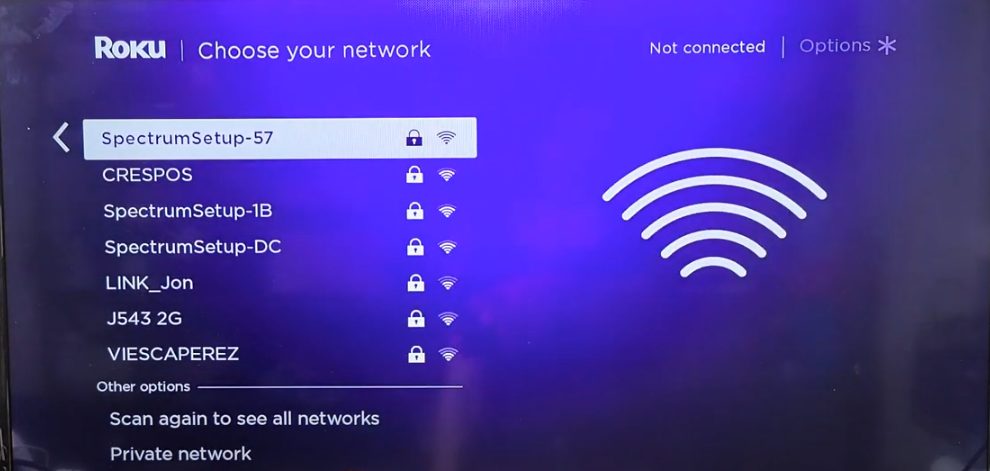
Select the Wi-Fi network you wish to connect your Roku device to. If you don’t see your home network. Scan again to see all networks and see if it appears on the next listing.
Once you see your Wi-Fi router that you want to connect. Select it and click OK on your Roku remote.
Step 6: Enter Network Password and Connect
After choosing your network. A window will prompt you to input the network password.
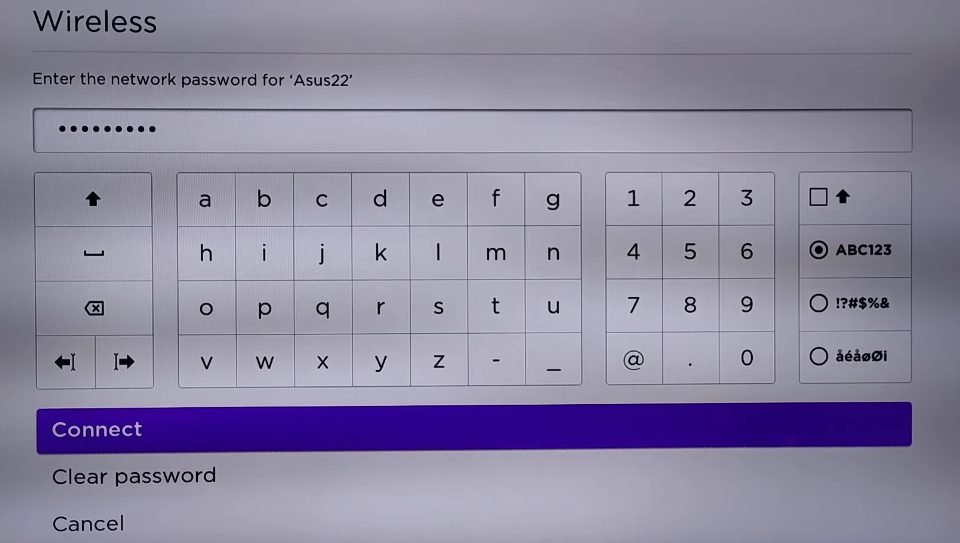
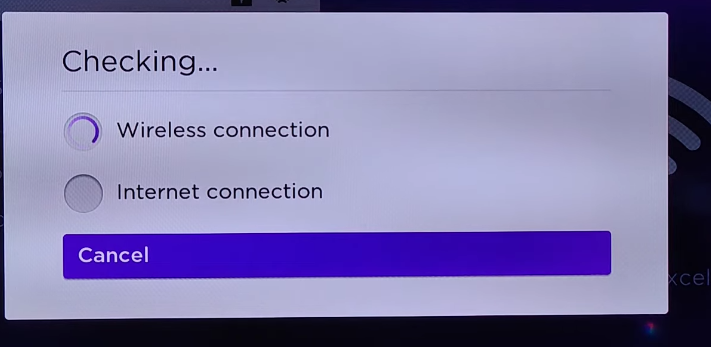
Input the password for the selected wireless network and click “Connect.” If the password was entered correctly, you will receive confirmation that your Roku device has successfully connected to your home network and the internet.
Confirmation and Completion:
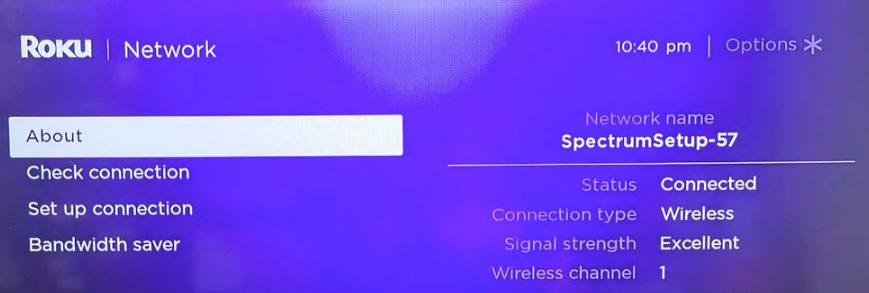
After the confirmation, you’ll be redirected to the Roku “About” screen, where details about your wireless connection, including network name, connection status, and signal strength, are displayed.
